
This season I decided to take a break from making Davidson’s Plum jam. Unfortunately though, my tree didn’t receive the notification and consequently ripe plums have been raining down for several weeks. I’ve offered them to my neighbours, but no takers so far. And as I can’t stand the thought of them all going to waste, I decided to try making a syrup to use in drinks, trifles, ice-cream, whatever I can think of …
Recipe:
- 500g fresh or frozen Davidson’s Plums
- 500g sugar
- 1 cup water
- Optional 3-4 pieces of Star Anise or a Vanilla Pod
- Also optional a teaspoon of Rosewater at the end
Bring plums, sugar and water to the boil in a large saucepan.
Mash the fruit to release their juices and add the Star Anise or Vanilla Pod if using
Keep cooking at a slow boil for about 10 minutes or until it thickens slightly
Strain the mixture through a sieve into a large jug and allow to cool slightly whilst you sterilize a bottle by filling it with boiling water and allowing it to stand for 5-10 minutes.
Pour the water out of the bottle, and use a funnel to pour the juice into your bottle.
Add the Rosewater if using.
Notes:
- This recipe makes about 250 ml of syrup and can be multiplied for larger batches
- As freezing destroys the natural pectin useful in jam making, this is a great way to use up excess plums which you have frozen.
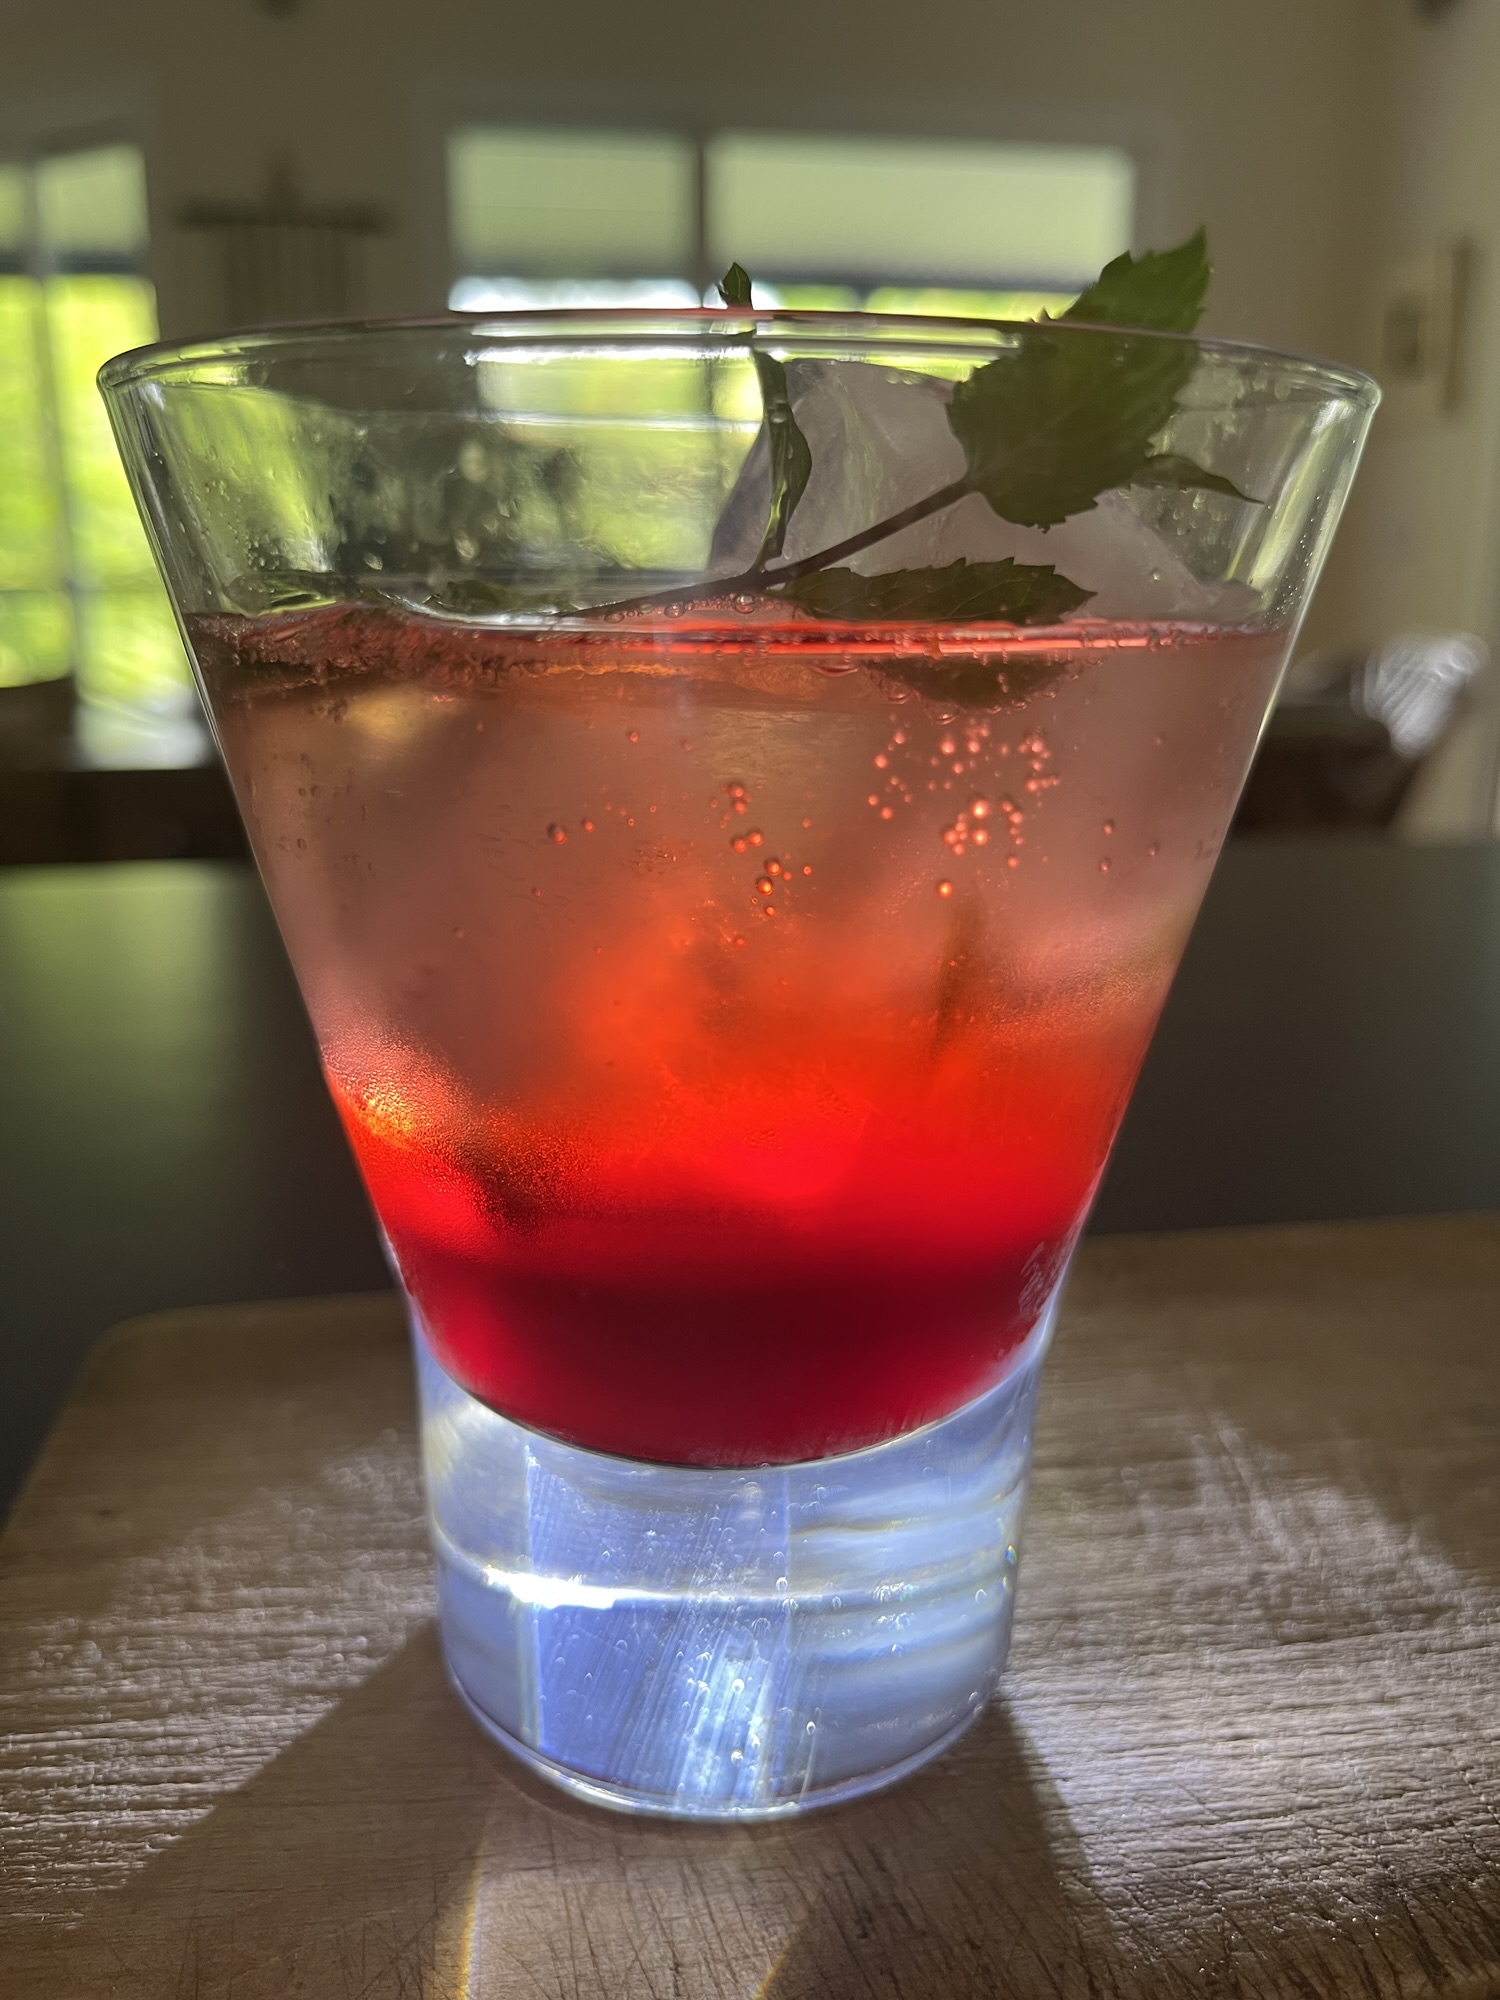
- Pour the syrup over ice and add soda water for a refreshing alcohol free drink, or add to your Aperativo – I’ve used it in a gin & tonic and in even in a Negroni!
- It’s delicious poured over a good quality vanilla ice-cream
- And it’s quite addictive …


")


