Hopelessly addicted to cabbage …

Our local fruit and veg barn couldn’t believe how much cabbage I was buying.
“Wow – you really love your cabbage don’t you!” they said.  So, I tried to explain.
Which probably made the situation worse.  I’m sure they now think I’m some sort of obsessed fibre munching, cauldron boiling witch 😊

I will admit that over the last few weeks, things got just a little bit out of control.  I became rather hooked on the purple cabbage eco-print process. Almost every morning I ventured out into the garden to gather plant matter to be layered between papers of various weight and texture – tracing paper, swing tags, serviettes … anything I could lay my hands on really.

Into the pot with purple cabbage and mordant to simmer for forty minutes, and then the impatient wait overnight for the dawn (well, almost dawn) unbundling.

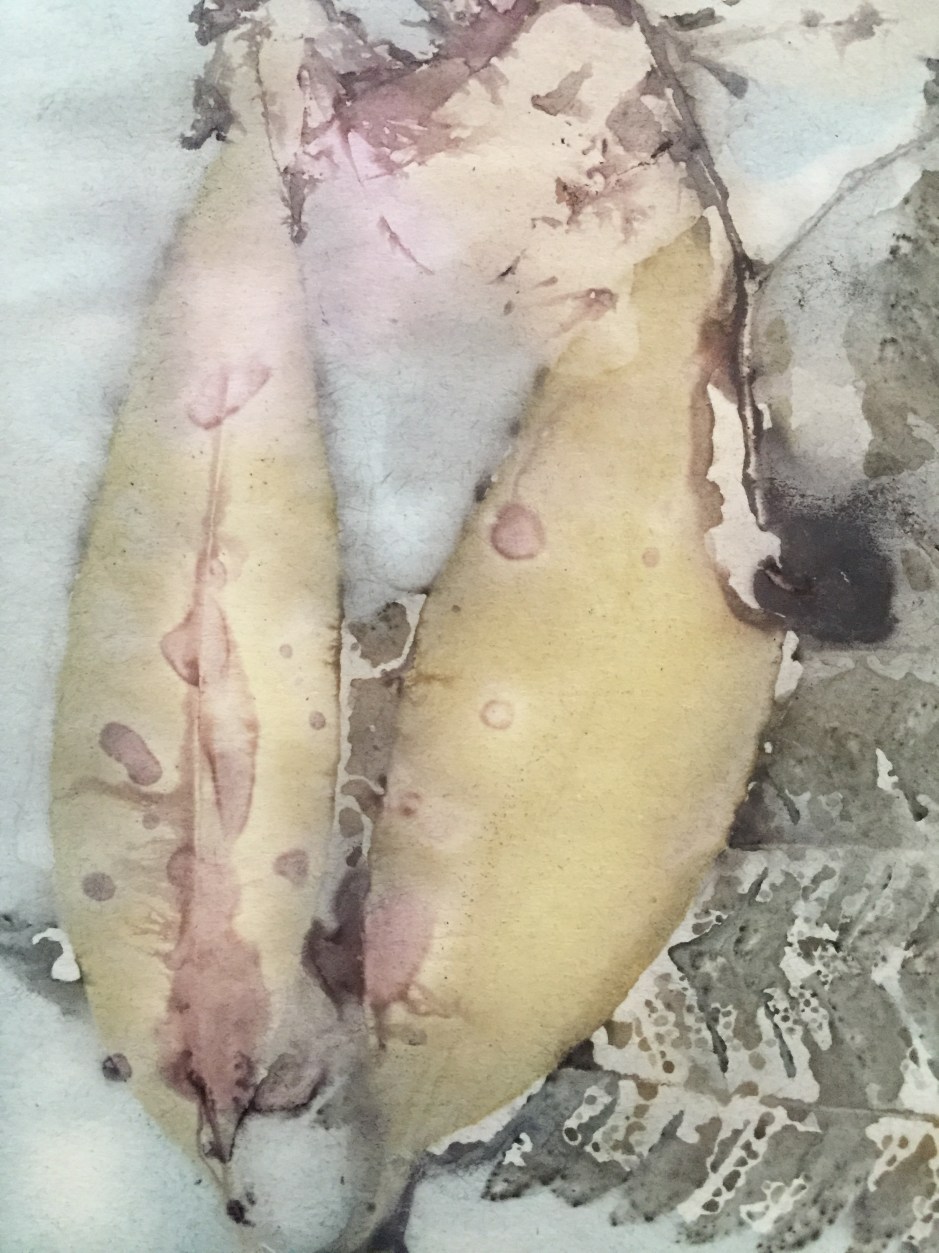
I experimented with alum and copper mordants. Copper seems to result in a clear pale blue background with some shades of pink …

Whereas Alum gives a darker, smoky greyish blue …

I’ve amassed quite a pile of dyed papers, and thrown more than a few on the compost heap.


I’ve framed several of the better papers …

And I’ve made this year’s Christmas cards …


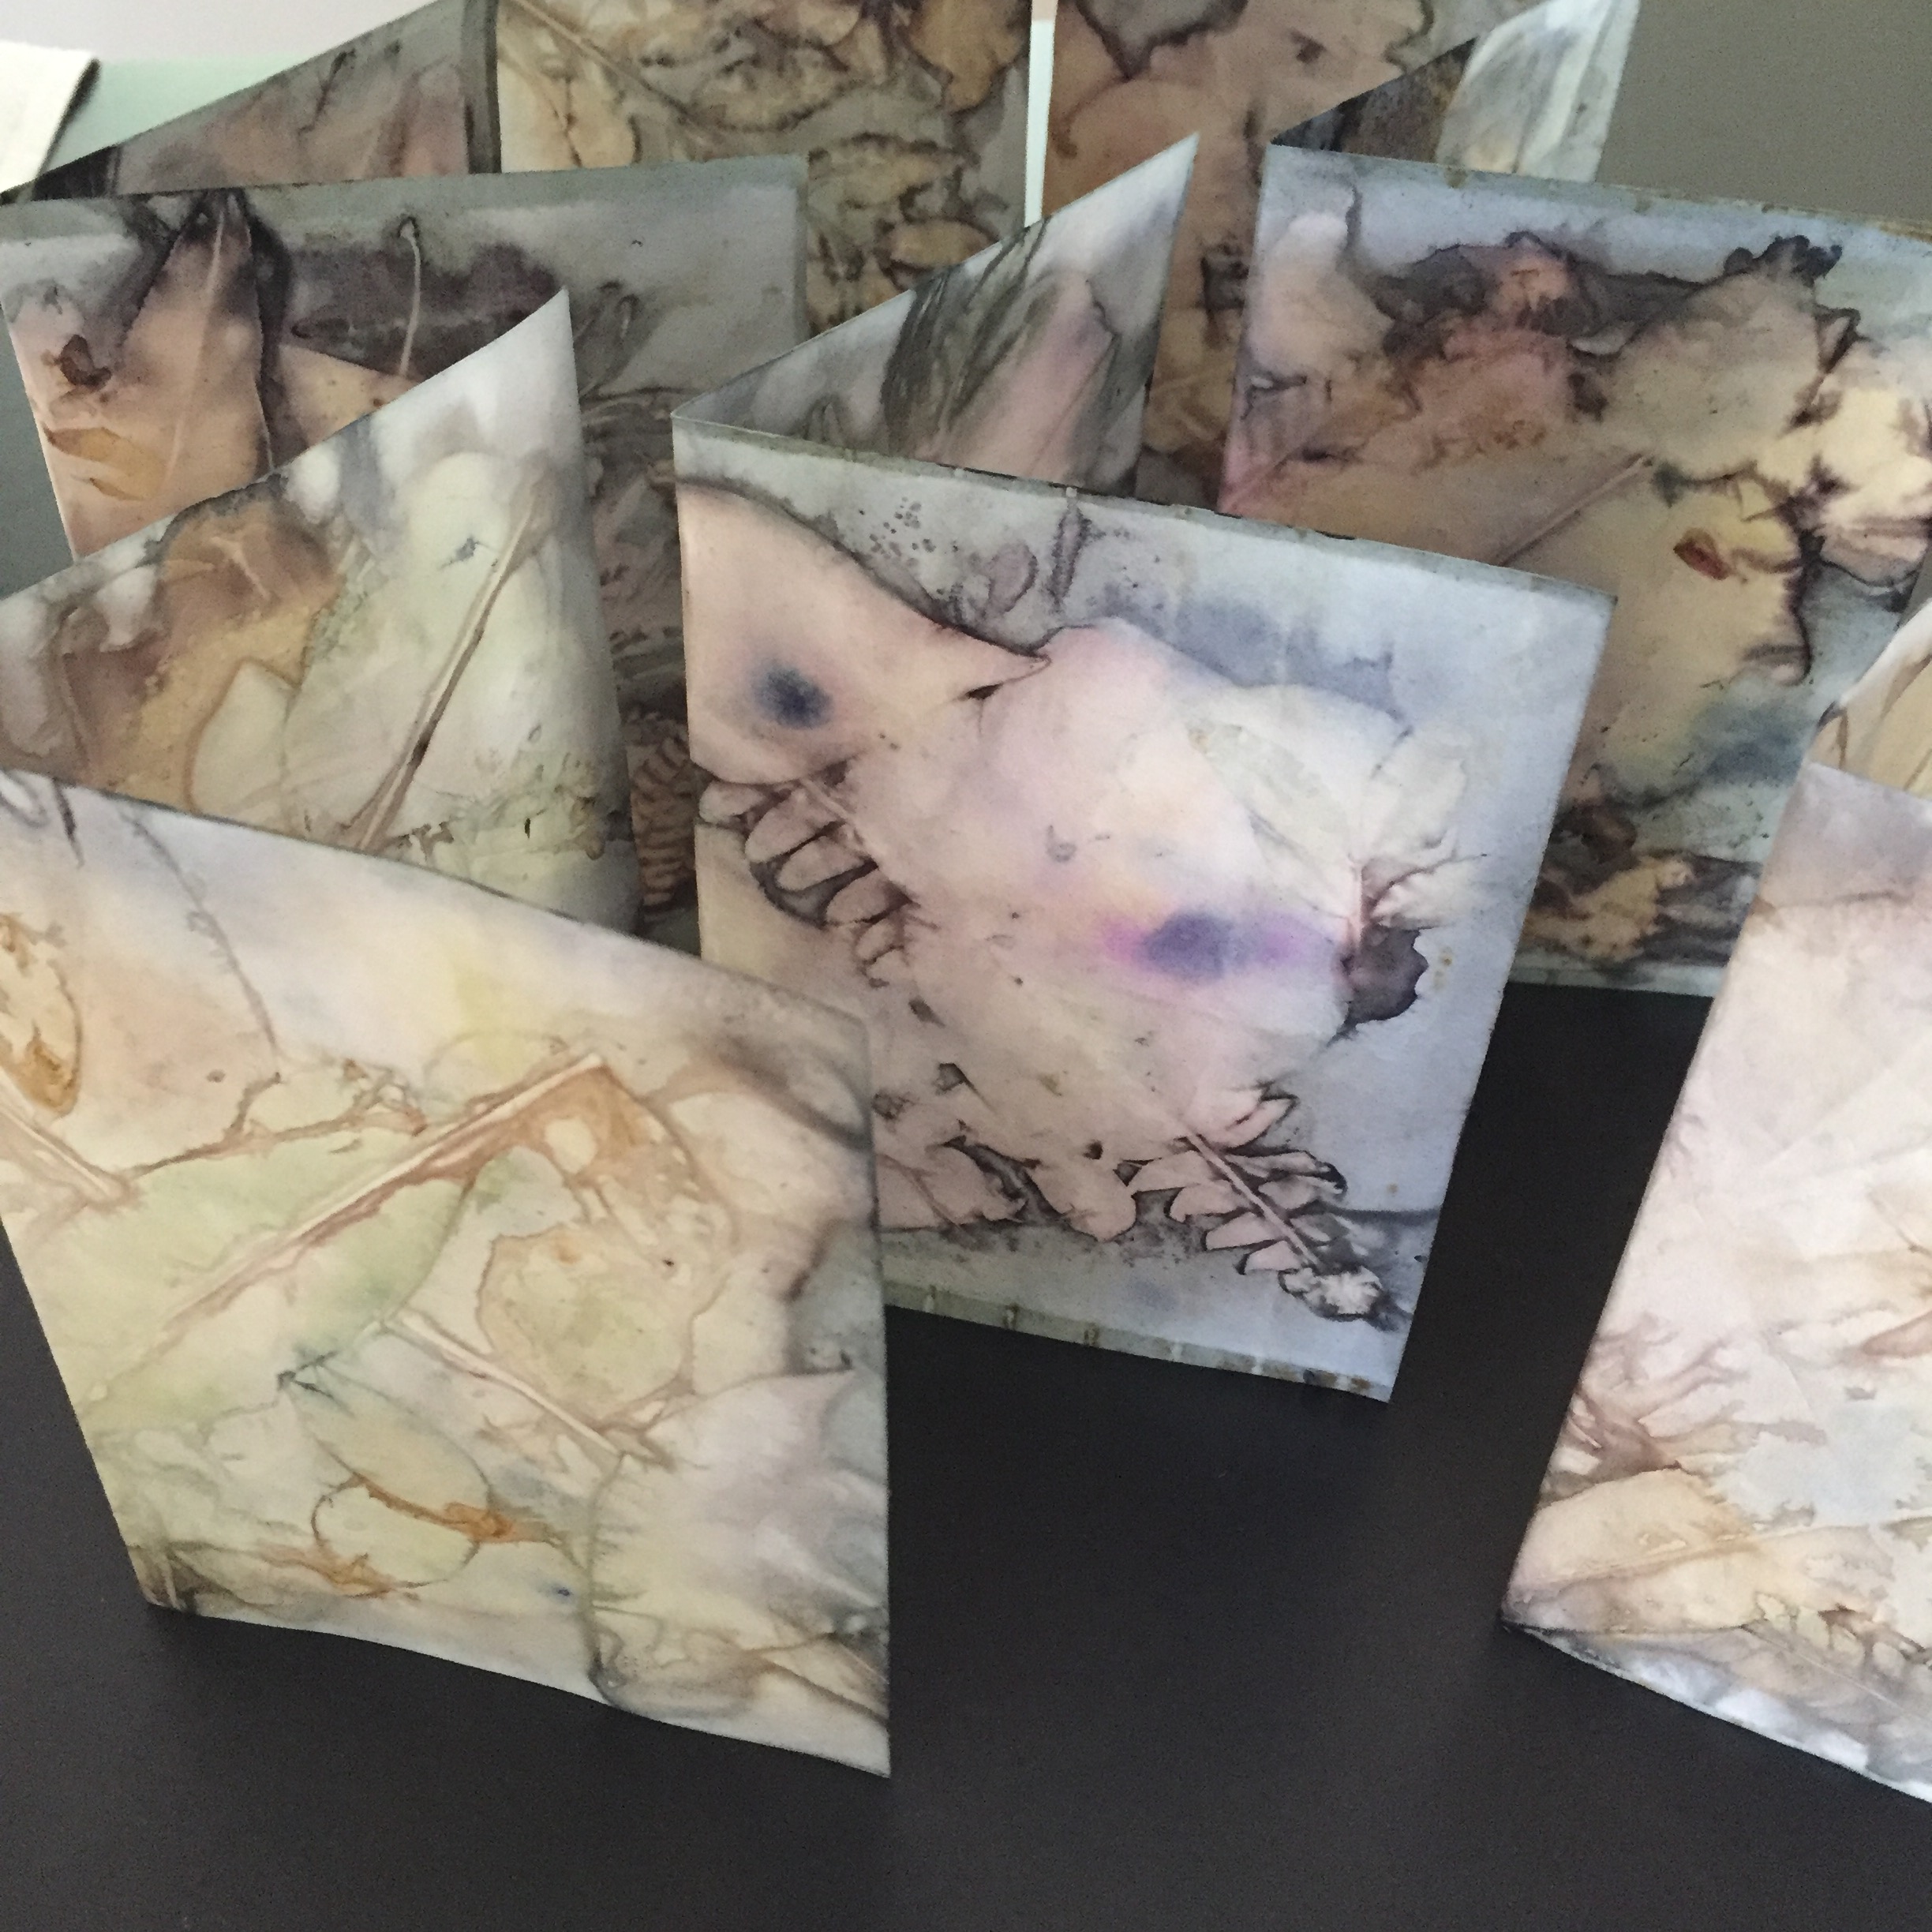
I’m putting together an artist’s notebook which I’ll bind, when I’ve refreshed my memory on the Coptic binding method.

If you’d like to read my relatively foolproof method, Purple Cabbage eco-print recipe

Purple Cabbage, an eco-print recipe


I am in no way an expert on the eco-print process, but over the last few weeks I have worked out a relatively fail-safe method of printing plant images on to paper using purple (red) cabbage. Keep in mind that you will never get the same result twice – it’s just the way with nature – so expect the unexpected …

If you’d like to see some of the results I’ve achieved using this method, Hopelessly addicted to cabbage.

Preparation …

Gather up a bucket of foliage, leaves and flowers of different textures, shapes and colours.  Avoid large soft leaves as they can turn to mush when they are simmered – geranium leaves are an exception.  Gather more than you think you need.

Some of the leaves and flowers that I used were – lilly pilly, geranium, tree fern fronds, red camellia, tulipwood, lemon myrtle, salvia, grevillea, bamboo and eucalyptus.

Make up a spray bottle of vinegar spritz – I used approximately 70% water/30% cheap white vinegar.

Gather up your paper – try 80/110/180 gsm paper or swing tags or whatever.

The Process …

Start layering your paper and plant matter.  Spritz the paper, then lay down the plant matter and spritz again.  Use plenty of plant matter because some will leave colour, some will interact with each other, some will just leave an outline and others will do absolutely nothing.  Keep layering until you have a thick but manageable bundle.

I use a piece of ordinary 80gsm computer paper for the first and last layers of the bundle – this protects the paper from excess colour.

Use bulldog clips or string to secure your bundle so that the paper and plant layers are pressed firmly together.

Put the bundle in your container of water and bring slowly to a simmer – NOT a boil.  Then simmer for 20 minutes.

Then for a small container, add approximately half a small purple cabbage, chopped into smallish chunks, and ½ a tsp of either alum or copper.

Simmer DO NOT BOIL for 20 minutes and then TURN OFF THE HEAT.  This is really important because if you continue to simmer the cabbage it can “de-nature” which will turn the dye brown and give your paper a muddy look.

Now the Hard Bit …

Step away from the pot and don’t open the bundles until the following day.

The Next Day … (or longer)

Remove your bundles from the pot and stand them in the sink for about half an hour to drain.  Then untie your bundle and carefully peel away the layers, watching out for plants that give a particularly nice outline or colour.  Then leave them to dry on a towel – I don’t wash my papers.

The Day After that …

Do it all again😊